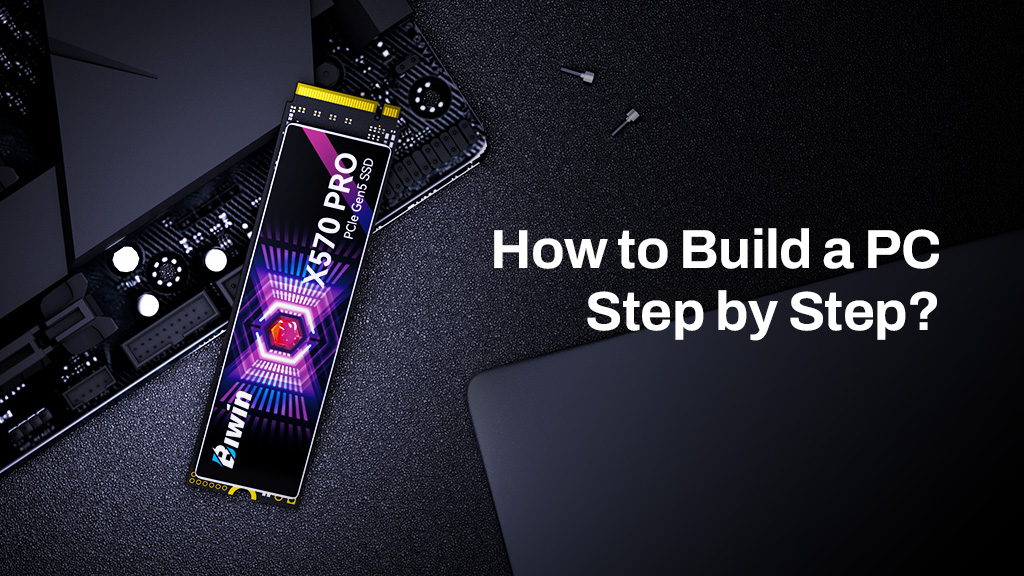
Building a computer can be a rewarding and educational experience, but it can also save you a lot of money, too. Once you have the right components to hand, building a PC is mostly straightforward, as all the pieces tend to fit in only one place, in only one way. Here’s how to build a PC, step by step.
Building a computer is one of the best ways to learn about how they work and to practice a useful skill: If you can build it, you can troubleshoot it when something goes wrong. But it can save you a lot of money, too. With rising prices for all sorts of PC components, being able to cut down on labor costs can help make your next PC project a lot more affordable.
Building a PC can be a bit intimidating the first time you try, but we’re here to help walk you through it. Most of the pieces only plug in one place and in one way, anyway, so it’s hard to make a mistake if you take your time and approach each step carefully.
To give you a hand along the way, here are some handy step-by-step instructions to build your first PC.
Before you start
Before you begin building your computer, be sure you have all the components to hand. To put a new PC together, you’ll need the following components:
- CPU
- CPU cooler
- Motherboard
- Memory
- Storage
- Graphics card (if you’re building a gaming PC)
- Power Supply
- Case
All parts need to be compatible, too. Checking that goes beyond the scope of this guide, but handy websites like PCPartPicker can make it easier to buy the parts that will work well together.
Make sure you have all the components you need on hand. Create a clear space, preferably on a table or desk to build your PC on– and make sure to ground yourself before you start. This is to avoid any static electricity build up that could damage PC components. You can use an anti-static wrist band or periodically touch a steel part of your case.
You’ll need a cross-head screwdriver to install some components. Ensure you have adequate lighting, too, as building inside a case can sometimes make it hard to see what you’re doing.
How to build a PC
Place the case on the desk and remove its side panel. Lie it on its side and clear any cables away from the motherboard tray area. If necessary, install the motherboard I/O backplate.
Locate the motherboard mounting points on the motherboard tray. Your manuals should help, but if in doubt, line the motherboard up with the tray to find the holes – or standoffs if they’re already installed. Install the standoffs if not, then lower the motherboard onto them, and screw it into place.
Locate the CPU bracket and lift the retaining arm up to release the plastic socket cover. Discard the cover and remove your CPU from its packaging. Orient it correctly using the socket and CPU markings and gently place it into the socket. Give it a gentle wiggle from side to side to help it drop into the socket if necessary, but if should feel relatively sturdy and not canted on one side if installed the right way.
Replace the CPU locking plate and lower the retaining arm into its position to lock it all down.
Plug in your motherboard’s CPU power cables next as it’s far easier to do it before installing the CPU cooler. They are 4pin or 8pin connectors and usually plugged in near the top of the motherboard.
Locate the memory slots and orient the sticks carefully so the notch in the middle lines up with the one in the slot. Then press the memory in firmly until you hear the retaining arms click. For two sticks, most motherboards would have you install them in the 2nd and 4th slots, but some motherboards vary. Check your manual for more instructions.
Take the CPU cooler and make sure it has the right mounting place fitted for your CPU and motherboard of choice. Since every cooler is different, follow the instructions provided to install it on the motherboard. Be sure to apply appropriate heat paste or a thermal pad before starting. If you need to mount a watercooling radiator, make sure the pipes can run without kinks or harsh bends.
Locate the main M.2 storage drive bay and install your main NVMe SSD there. Remove any heatsinks and unscrew the retaining screw. Press the SSD gently but firmly into the socket, gold-connectors first (and ensure it’s the right way by lining up the slots) and then press it down so that it lines up with the retaining screw hole. Install or tighten the retaining screw to hold the drive in place.

Repeat this process for any other drives you have. For SATA SSDs or 3.5-inch hard drives, locate the appropriate drive bays within your case and install them there. You’ll need to run SATA power and data cables to them from the PSU and motherboard, respectively.
Install the graphics card in the top-most PCIexpress x16 slot. To do so, you’ll need to remove one to three PCIe brackets using a screwdriver. Then slot the GPU into place, ensuring that it fits neatly into the PCIexpress slot. You should hear an audible click when it’s secured. Apply the retaining screws on the PCIe bracket back panel to hold it in place. If your card is big and heavy, you may also want to apply a GPU anti-sag bracket to hold the card up.
Install the power supply in the base of your case and run all of the necessary power cables. You’ll need to attach the motherboard 20+4 pin, power cables to any SATA devices or add-in cards, and a graphics card if you have one. That will use either the newer 12VHPWR/12V-2×6 connector, or up to three of the older PCIe 8pin power cables.
Finally, plug in any system fan cables to appropriate 3/4pin headers, as well as front-panel and audio connector cables. You’ll usually find the headers at the base of the motherboard, but check your manual for greater guidance. These can be fiddly and it’s important to get them right, so double check they’re in the right orientation before finishing.
Power it up
Once you’ve built the system, ensure that all components are properly in place and not moving around in their socket or slot. Ensure all power cables are connected properly at both ends. Then power the system on by pressing the switch on the back of the power supply, followed by the system’s power button.
If this is a completely brand new system, you’ll need to install the operating system to the main boot drive. Then follow up that with installing the latest drives and all of your favorites games and applications.
Now you’re ready to build
With a little practice, putting together a new PC should feel relatively straight forward. It’s a process that becomes easier the more you do it, and remember you don’t need to build a whole PC to learn about how they work. Upgrades are a great way to make your PC run faster and get a feel for its insides, and there are some that only take a few minutes. Switch out the memory for one our latest Biwin DDR5 kits, or upgrade to a new PCIe 4 or PCIe 5 SSD, and you’ll really notice the difference.
Power Your Next PC Build with PCIe 5.0 Performance
A fast SSD is one of the most impactful upgrades for any modern PC, helping reduce boot times, accelerate game loading, and improve responsiveness in demanding applications. For builders looking to take full advantage of the latest platforms, the Biwin Black Opal X570 PRO PCIe 5.0 SSD is a powerful choice. Featuring a PCIe Gen5 x4 interface and NVMe 2.0 support, it delivers sequential read speeds of up to 14,000 MB/s and write speeds of up to 13,000 MB/s, providing exceptional performance for gaming, content creation, AI workloads, and large file transfers. With advanced thermal management and high-capacity options, the X570 PRO is built to keep your new PC running fast, efficient, and ready for future upgrades.