SATA hard drives still form the backbone of many PC’s storage, so knowing how to install one safely and effectively is a good idea – especially if you’d like to finally ditch your old hard drive for something faster and less prone to damage. Depending on your case, you may need a Philips screwdriver to install the drive in its chassis, and you’ll need a SATA cable to connect it to your motherboard too.
Have all that to hand? Here’s how to install your SATA SSD in a few simple steps.
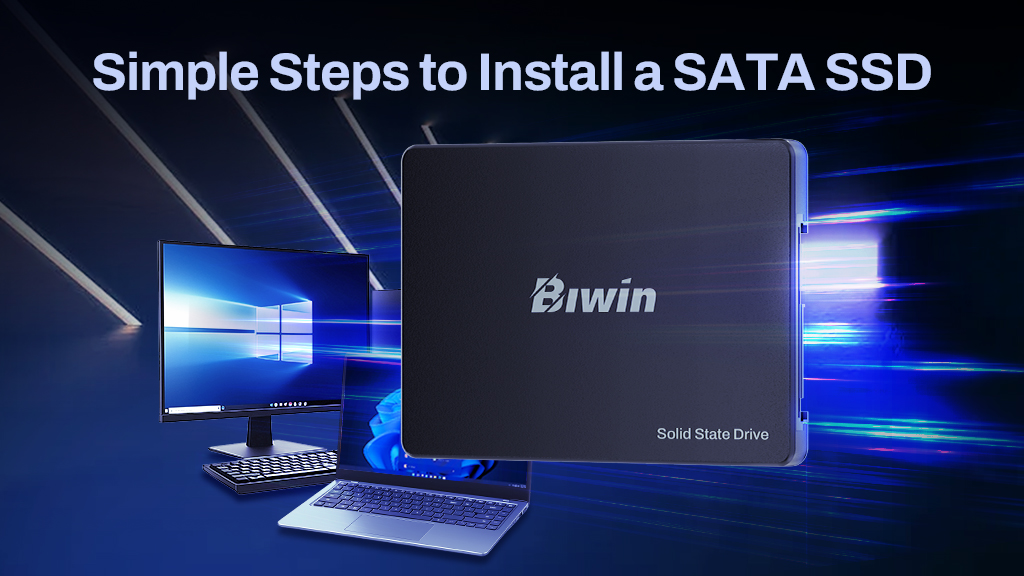
Table of Contents
ToggleHow to install a SATA SSD
Before you get started installing your SATA SSD, you need to decide where to put it. Most cases have a few options for mounting SATA SSDs, including in front-bay drive mounts, and behind the motherboard. It’s entirely dependent on the case, though, so if in doubt look at the manual or the manufacturer’s website to find the best places to install a SATA SSD.
SATA SSDs are much larger than newer NVMe drives and they require a wired connection to your motherboard. Bear that in mind when choosing where to place the drive in your case, as you’ll need the SATA cable to reach one of the available SATA ports on your motherboard. You’ll also need the SATA power cable from your PSU to reach the drive itself, so be sure to place it within easy reach of that, too.
Once you’ve decided on a location, place the drive into its mounting position and line up the four screw holes with either the SSD itself, or those on its mounting tray. Your case or the SSD will have come with some mounting screws, so grab them and use your screwdriver to install them into the SSD mounts, locking the drive in place. If you don’t have them to hand, almost any standard size PC case screws will do.
Next, take the SATA cable and plug it into the smaller L-shaped connector on the SATA drive and locate a spare SATA port on your motherboard. They’re usually located on the front edge, but this can vary by motherboard manufacturer. Look to the manual, or manufacturer’s website for additional help in locating them.
Attach the cable to the SATA port on your motherboard, but take note to route the cable around the edge of the board, or around the back if you can, to avoid unnecessary cable mess which can impede airflow and reduce your system’s cooling capabilities.
Locate a spare SATA power connector or cable, and route that to your SATA drive. Plug it into the larger L-shaped connector and give it a little wiggle to secure a snug fit.
From there, boot up your system to make sure the drive is detected properly. If so, congratulations! You’ve installed your SATA SSD. You can now put the side panels back on and enjoy your new drive. If it doesn’t show up in the operating system, try plugging the power and SATA cables in again to make sure they’re seated properly.
Biwin M100 SATA SSD: Simple Upgrade for Better Performance

Now that you know how easy it is to improve your system with a SATA SSD, why not take the next step with the Biwin M100?
Choose the Biwin M100 SATA SSD for faster performance, greater reliability, and enhanced storage capabilities. With read speeds up to 550 MB/s and write speeds up to 500 MB/s, this SSD offers a clear performance boost over traditional hard drives. It’s an excellent choice for users looking to experience faster boot times, quicker file transfers, and a smoother overall computing experience. Available in capacities ranging from 128 GB to 2 TB, the M100 provides ample space for your documents, media, and applications.
For those looking for a straightforward, dependable SSD upgrade, the Biwin M100 SATA SSD is a solid choice that delivers consistent performance for everyday tasks.
